Monday, April 15, 2013
Saturday, May 5, 2012
Day 13
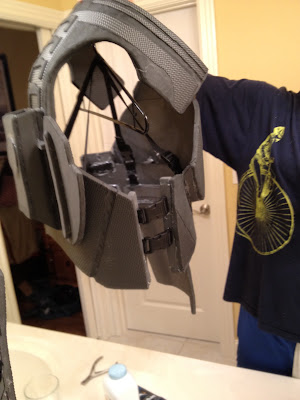
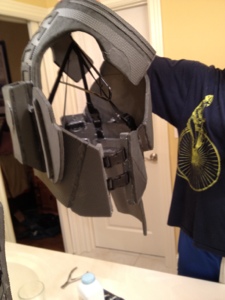
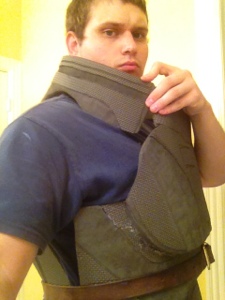
Ok So I started to rig my armor. And got most of it down on the chest piece. Granted I still have yet to make the spine on the back underside, and I do have some kinks to work out with the neck guard, but its progress.
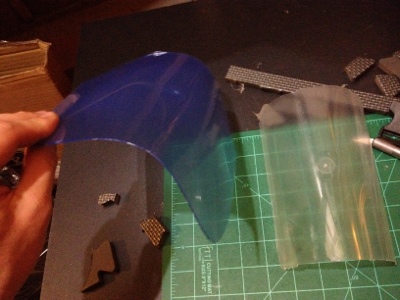
I also began to toy around with some heat formed plastic and EL wire for omni tool construction. Check it out!
I hope to get to work more often now that my test is over with! YAY


I also began to toy around with some heat formed plastic and EL wire for omni tool construction. Check it out!
I hope to get to work more often now that my test is over with! YAY
My $1 store buy :)
Here is a behind shot of what my omni tool will hope to look like. I havent actually placed the wire yet, was just putting it inbetween the plastic to get a feel for it. But I did to go back and get two more of the plastic containers from the $1 store.
Above shot
Front left.
Side clips

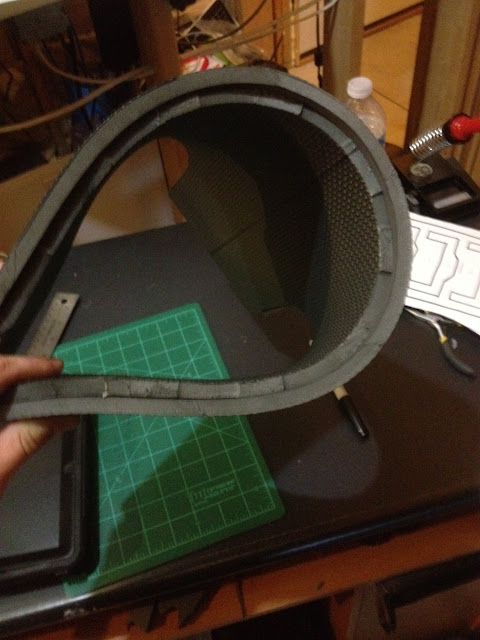
Here is my armor hanging on a coat hanger. It falls off if its not put on correctly.

Thursday, May 3, 2012
Day 12
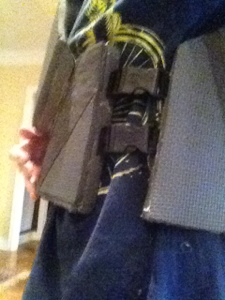
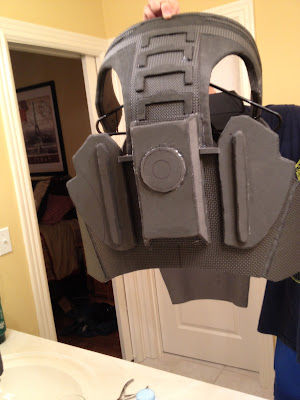
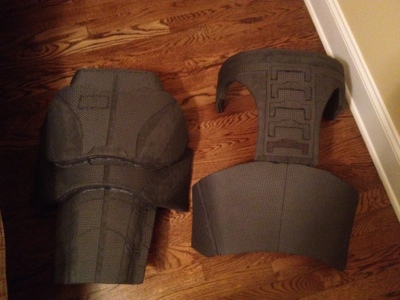
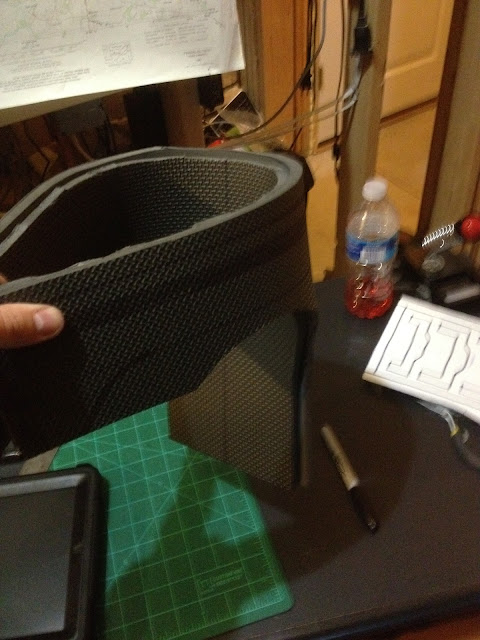
Hello all! I put together the back piece... mostly. I added the box, and the weapon holsters. I also added some support structure on the back with some spar parts. I also got out my webbing and some clips to start figuring out how to put this baby together. I had the webbing and straps left over from my halo costume I made with fiberglass. :) thats where the helmet was from in my last pictures.


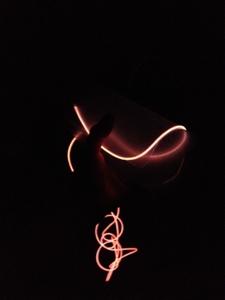
Blue EL wire... nice
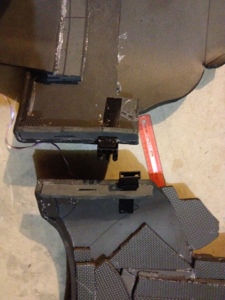
Some jimmy rigging with added support via old scraps. Cant let it go to waste now can I?
Back view
Side shot
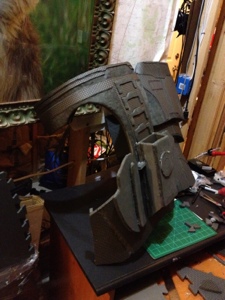
Front and back almost done! It may look like the back is quite larger than the front, but the neck guard will be curved down a bit. and much taller than the front piece, that way I can finish the spine in the back.
Tuesday, May 1, 2012
Day 11
Update: 5/2/2012, fixed the pics and added captions.
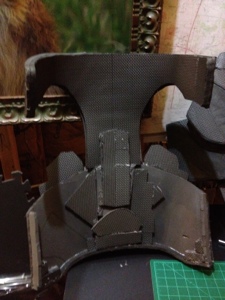
Ok so don't have much time to really talk about all I've done. Plus I'm sure the pics will be a mess until I get on laptop and fix it. But almost got the back together. I raises up the pieces on the spine. Glued the neck and main back together with some jimmy rigging. And I did some detailing. More coming soon!

Ok, so here is the pieces all laid out on the ground ready to get put together.

Close up of the new box on the back. I took off 2 inches roughly and looks more proportional.

Here is the back of the neck guard as I put in the spine. Im raising it up a bit to give it a 3D feel.

Spine done!

I wasn't sure if I should raise up the circle in the middle so here is one flat.

And raised... raised = better, so I went with it.

Here is the jimmy rigging I had to do to get the pieces to stay together. Just took some scraps, glued them on and made a link so to speak.

I took some shots of what it will look like with the box and weapon holders.


Now on to some pics trying to see how it will look.


My goggles failed at protecting my eyes while using the dremel tool... fail!
So just need the back box, weapon holders and the rest of the spine!
Friday, April 27, 2012
Day 10
Hello everyone. I have been busy studying, so I have not had time to update this in a bit. But as of 10 days in I have pretty much the front chest piece done, and I am about 1/4th of the way with the back.
I began to work on detailing the back pieces and I think it is turning out pretty good. I had a few slips with the dremel, which caused me to make things a bit wider than I hoped for. My dremel for some reason has around 6 settings I believe, and there are two I mainly use but I wish there was one right inbetween them. It's almost like say setting 3 is to slow, and then 4 is way to fast, so if I happen to slip it just creates a huge line. But anyways. Here are some pictures!
I also got in my EL wire for my omni tool I plan to make. If you havent heard of the stuff it is pretty cool! Bendable neon lights pretty much. I can think of tons of stuff to use it for, but I am hopefully going to make a plexiglass omnitool and line it with the stuff. I also want to make it so it goes over my right guantlet. So need to get that done first!
Thanks for reading and I will try to update soon!

The amazing EL wire. (pretty cheap too!)

Before I decided to cut out the spine pieces for added detail.

After: As you can see the top one is raised and it's showing the smooth side.
Tuesday, April 24, 2012
Day 9
Ok so while I was measuring out the neck guard I had made I realize it needed to be 3 inches longer. So instead of making a whole new one I just added To it. I also cut out the other neck guard piece. So now I have two, in order to give it the double look like the ME3 armor has. I drew the design on back so you could see. Also I started to design the template for the mid section on the back. I need to design the weapon holders though. Still working on them.
Showing both pieces back to back. Notice how with this way I get the texture on both sides.
Top view.

Shows the two pieces I had to add on.

Detail work

Template of the bottom half. (I had to fix it a bit when I cut it out)
Monday, April 23, 2012
Back to the armor!
Well I went out of town last Thursday and just got back today so I haven't had much time to work on armor. But should be back in business soon! I'll update you when I get the neck guard cut out. I have one piece, but will need to name the other one just a bit bigger to compromise for the heat wrapping.
Subscribe to:
Posts (Atom)